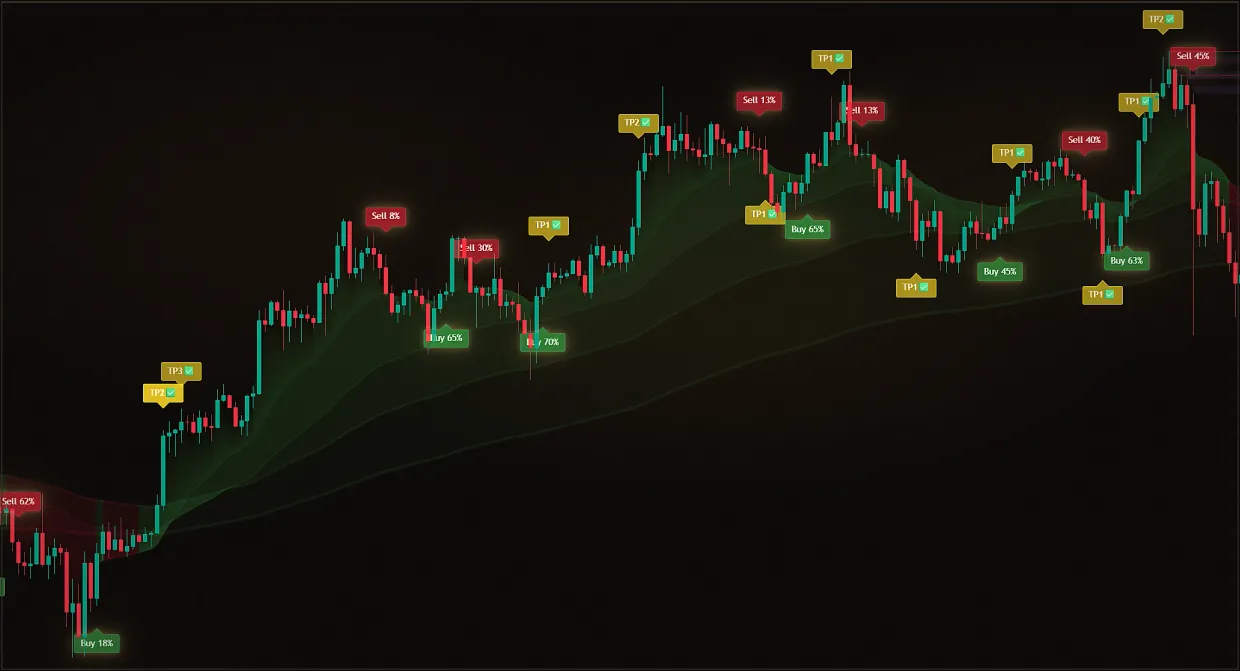

What is the channel made of, and what measures the deviation?
The classic Bollinger Bands setup is built around a simple moving average. The upper band equals the average plus a multiple of standard deviations; the lower band equals the average minus the same multiple. On many platforms, the default settings are a 20-period lookback and a multiplier of 2. This is a useful starting point, not a physical law of the market.
The period controls the lookback length. On a daily chart, 20 means twenty daily bars; on an hourly chart, it means twenty hours. The multiplier controls the distance between the bands and the average. The larger it is, the less often price moves outside the bands for the same history. Changing these numbers without considering the timeframe is meaningless: the same configuration describes different time scales.
The standard deviation measures the distribution of values around the mean. As the last candles move wider, the distance increases. If the fluctuations diminish, the boundaries converge. Therefore, the indicator first answers the question of the volatility regime, and then helps to estimate the relative position of the price.
It's easy to draw an unnecessary statistic here. The two-way formula doesn't turn market prices into a normal distribution and doesn't guarantee that a fixed percentage of candles will stay inside. The market is changing regimes, giving breaks and consistent trend movements. Considering each exit a rare anomaly is dangerous.
If the middle device isn't clear yet, figure it out first. How the moving average smooths the price and why it's late.. Here it serves as the center of the channel, but it doesn't lose its leg.
Why isn't touching Bollinger's band the same as turning around?
The widespread pattern looks convincing to the story: buy at the lower band, sell at the top. It only works in part of the lateral ranges and breaks when the directional movement starts. The price touches the upper band, closes next to it, then does the same thing again. John Bollinger calls this behavior movement along the border.
The reason is simple. Average and deviation are calculated from past candles. When a new pulse dramatically expands the range, the lines are rebuilt with delay. The upper limit doesn 't stand in place like concrete. resistance level And the bottom one is not a fixed support. They're both moving with the data.
During a strong trend, Bollinger's bands can expand and move in one direction. The price stays near the outer line longer than the hunter expects for a quick return.
Closing out doesn't mean the price has to come back immediately either. In the author's official rules, the first exit is seen more as a sign of continuity than as a ready-made signal of reversal. The trade still needs context: market structure, the direction of the upper period, the response to the level and the behavior of the following closed bars.
A similar error occurs with oscillators. High value is called overbought, and they start arguing with the trend. It 's all right. overbought and resold shows why the extreme describes the state, but doesn't specify the moment of reversal.
Compression, expansion and movement along the border
One picture is not helpful. The channel reads like a series of changes. There are three ways to avoid mixing situations.
Compressed
The bands converge after a period of quiet bars. Volatility is low relative to recent history. This Bollinger Band contraction is commonly called a squeeze. It suggests that the market has compressed, but it does not predict direction. The first breakout can be false, especially in the middle of a broad range without a nearby level or supporting participation.
Instead of predicting the direction, first ask, "Where's the compression?" The narrow channel at the upper boundary of the long range differs from the same channel in the middle. In the first case, there is an observable obstacle, in the second, only silence.
Expansion
After a series of broad lines of candles diverge. It's an increase in current volatility, not a forecast of its continuation. If the price has gone out of range, closed below the level and the movement is accompanied by participation, the expansion confirms the change of regime. If the candle went back inside instantly, the channel only recorded a flash.
Useful for evaluating participation volume indicator and its limitations. The large column does not guarantee continuity, but it provides independent information that is not in the Bollinger Bands formula itself.
Moving along the border
A few closures next to the upper band in a growing market or next to the lower band in a falling one show steady directional pressure. Selling the first touch of the upper limit just because the price is "too high" means ignoring the regime. What's more important here is the structure of the deflections: whether the mean is maintained, whether the extremes are updated, whether the momentum is decreasing.
When the line stops expanding, the price crosses the average and doesn't go back to the original limit, the nature of the movement can change. But none of these traits alone equals a trade instruction.
| Watching | What We Know | What we don't know yet | What to check |
|---|---|---|---|
| The channel has become the narrowest in recent times | The volatility is down. | direction of the future breakout | range boundary and closure after exit |
| The candle is out. | The price went above the relative extreme. | Will the pulse continue? | retention and reaction of the following candles |
| The price goes along the upper band. | There 's directed upward pressure. | where the trend ends | structure, volume and pulse of the deflections |
| The borders expanded dramatically. | Amplitude has increased. | whether the new regime is stable | Back inside and higher timeframe |
| The price is above average. | local center passed | whether a full reversal has occurred | structure of high and low |
% B and BandWidth answer different questions
Both metrics are derived from the same lines, so they add a convenient scale, but not a new independent data source.
%B is calculated as the difference between price and the lower band, divided by the width of the Bollinger Bands. A value near 0 places price near the lower band, 0.5 near the middle band, and 1 near the upper band. Values above 1 occur when price is above the upper band; values below 0 occur when price is below the lower band. This is a coordinate within the system, not a reversal probability.
BandWidth divides the distance between the upper and lower boundaries into the middle band and translates the result into percentages. It helps to compare the current width with the instrument's own history. The phrase "the channel is narrow" without such a comparison is too subjective.
You can't directly compare the bandwidth of different markets. Each instrument has its own custom. the volatility, trading hours and reaction to events. It's more practical to see if the width is near the local minimum for the selected period, and then see where the compression is formed.
Both %B, and BandWidth depend on the same prices, period, and multiplier as the original channel. Three windows on the screen don't give three independent confirmations. They're showing the same set of data at different coordinates.
How do you connect the channel to price, volume, and momentum?
A good relationship answers a lot of questions:
- The price structure shows whether there is the trend Or the range.
- The level marks the place where the exit makes sense.
- Channel width describes the current mode of volatility.
- The volume evaluates participation in the movement.
- Impulse helps you see acceleration or weakness.
- Shutting the candle separates the fact from the change inside the interval.
For example, a narrow channel is just below the upper boundary of the range. The price closes above the level, the width begins to rise, the volume above its recent norm, and the sunset doesn't bring the candles back deep inside. It's a coordinated picture. But it still requires a predetermined risk and doesn't guarantee results.
Another case: the compression is in the middle of the range, the first long candle pierces the upper line at the normal volume and closes back. The channel has expanded, but the market hasn't confirmed the exit. No trade here might be the best solution.
For a separate reading of the pulse will be useful MACD indicator and its delay. The MACD and Bollinger bands should not be repeating each other. One describes the ratio of the mean to the momentum, the other describes the relative price to the distribution.
How does one volatile channel differ from the context of Midas?
Bollinger's stripes are useful for their narrow task. They clearly show the local center, the relative extreme, and the change in volatility. But the same specialization has a limitation: there's no separate information about volume, liquidity, or cash flow in the calculation.
Midas Up collects trend direction, price channel, levels, volume profile and liquidity zone. The bottom Down indicator complements the picture with cash flow, momentum, trendline, volume delta and cumulative overheating. It doesn't make the decision automatic, and it doesn't mean that every layer has to agree at the same time.
Practical difference in reading order. In one channel, the trader independently searches for level, participation, and confirmation. In the Midas link, these questions are grouped together, and the signal serves as an opportunity to open the chart, not an order to enter. Risk management remains a human responsibility.
General map of roles in the material Which trading indicators are responsible for trend, momentum, volatility and volume?. The less two instruments duplicate each other, the more useful the comparison.
Check the history in 15 minutes.
The purpose of the exercise is to see the behavior of the channel in different modes. It's impossible to prove the profitability of a strategy in a quarter of an hour.
- Select one liquid instrument and one The timeframe.
- Add the Bollinger bands and leave the standard parameters 20 and 2 to avoid starting the experience.
- Scroll the chart back and turn on the playback mode.
- Find five points of noticeable compression and five points of movement along the border.
- Before you open the future, write down the location: the middle of the range, its boundary, or the destination the trend.
- For a squeeze, mark the first close outside the band and the next three to five bars: did price hold, return, or remain uncertain?
- To move along the boundary, note when the price first crossed the average and changed structure.
- Don't miss any inconvenience and don't change the settings inside the series.
Finally, analyze the reasons for the differences instead of merely counting winners. Examine false breakouts in the middle of the range and touches of the outer band that continued the trend. Did the level and volume help distinguish some of these cases? A journal like this quickly dispels the myth of an automatic reversal.
For each potential entry, determine the size of the position in advance, and Stop-loss. If a rule requires looking at a future candle to determine if a signal was present, it's not ready for honest verification.
When is it best not to use the channel?
There are situations where careful reading is more important than a new line:
- It's a very short story. Average and deviation do not yet describe the usual mode of the instrument.
- It's not a liquid market. Rare trades and jumps create a channel that's hard to compare.
- Break up after the news. The boundaries are widening after a movement has already occurred; it is dangerous to catch up.
- Constantly changing settings. If the period and multiplier change after each loss, the story becomes a setup.
- It's a mix of timeframes. A touch on a five-minute chart may be ordinary noise within an hourly trend.
- Looking for a trade at any cost. Sometimes the channel is in the middle of the range and doesn't give us any useful space.
No indicator is required to work in all modes. Missing a weak situation is a normal part of the process, not a missed opportunity.
It's very important. The material is informational and is not an individual investment recommendation. The market is volatile, trade is risky. Past price behaviour and indicators do not guarantee future results.
Sources
- John Bollinger, “Bollinger Band Rules” (touches, movement along a band, breakouts, and confirmations) - https://www.bollingerbands.com/bollinger-band-rules
- TradingView Help Center, “Bollinger Bands (BB)” (formula, parameters, and relationship between band width and volatility) - https://www.tradingview.com/support/solutions/43000501840-bollinger-bands-bb/
- TradingView Help Center, “Bollinger BandWidth (BBW)” (band-width formula and squeeze) - https://www.tradingview.com/support/solutions/43000501972-bollinger-bandwidth-bbw/
- TradingView Help Center, “Bollinger Bands %B” (formula for price position within the channel) - https://www.tradingview.com/support/solutions/43000501971-bollinger-bands-b-b/
Frequently asked questions
What settings should Bollinger Bands put a rookie in?
Start with period 20 and multiplier 2, because it's a common starting point and it's easy to compare to the platform reference. Don't call her the best in advance. First, check one tool and timeframe, then change only one setting at a time. The point of checking isn't to find the perfect number, but to understand how the channel behaves on your instrument.
What does it mean to move the price over the upper limit?
Price moved beyond the relative range calculated from recent history. In a trend, this may signal momentum continuation rather than a reversal. Check the level, bar close, volume, and whether price subsequently holds. A move outside the band indicates unusual speed, not exhaustion; price action must confirm a reversal, not the touch of the line itself.
Does the price always go back to the midline?
No. The moving average draws the eye, but it does not pull price by law. In a trend, the average itself moves, and price can remain on one side of it for a long time. Past returns to the average do not guarantee the timing or depth of the next one. The average is a reference, not a magnet; treating a return as mandatory replaces observation with a rule the market does not have.
How do you know when the compression started?
Compare the channel's current width to its own history on the same chart. Bandwidth helps to formalize this comparison. The width itself doesn't indicate the direction of exit. It is narrow or wide only relative to the recent past of the same instrument, so compression is evaluated by comparison rather than by absolute numbers.
How is %B different from the RSI?
%B shows the price position between the boundaries of Bollinger Bands. The RSI compares the strength of recent ups and downs. Both may look like scales, but they're calculated differently and answer different questions. Simply put, %B is where the price is inside the channel, and RSI is how confident it was going there. We shouldn't replace each other.
Can we only trade from outside lines?
Such a rule ignores the regime. In a side-trend, returns are more frequent, and in a strong trend, the price is able to go along one line. You need at least structure, confirmation after closing, and a limited risk in advance. The outer line itself doesn't tell whether the side is now or the trend, and that depends on whether the return rule works or loses the score.
Why watch a higher timeframe?
It shows whether a local touch is part of a larger trend or a boundary of a wider range. The settings may remain the same, but 20 five-minute bars and 20 daily bars describe different horizons. Check the higher-timeframe chart to understand where price is before treating a touch as a signal.