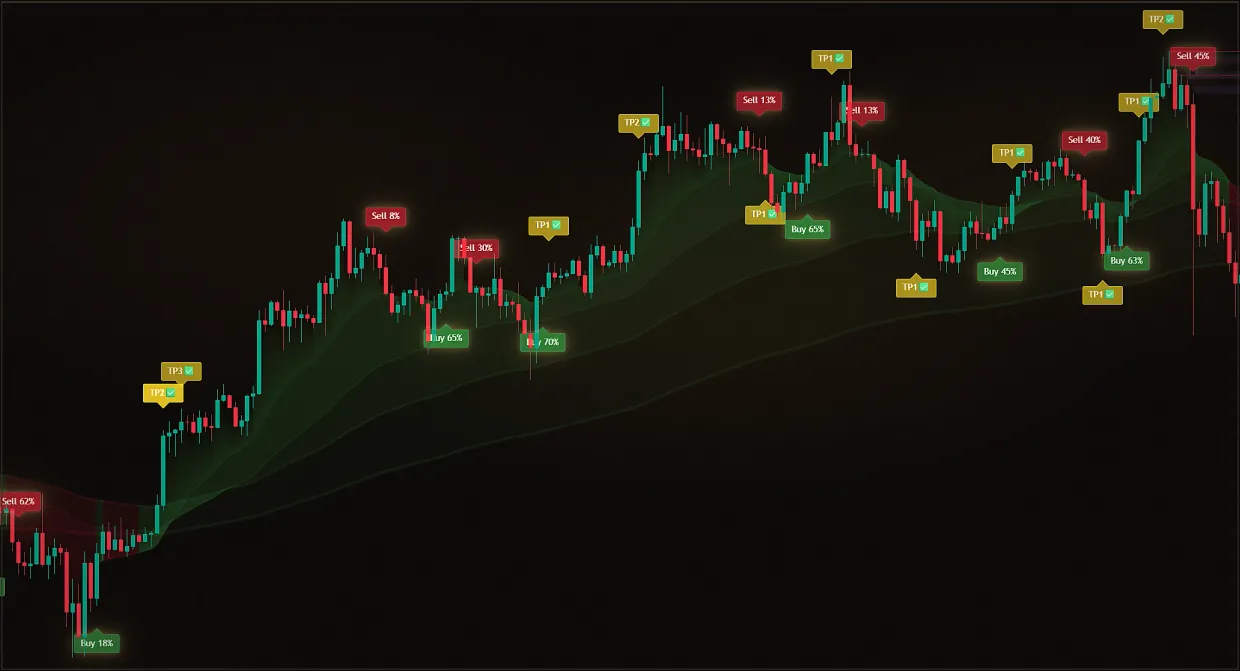

What's the liquidity level on the chart?
First, distinguish between two concepts. Market liquidity describes how quickly a sizable trade can be executed without materially worsening the price. It is measured through the bid-ask spread, order-book depth, execution costs, volume, and other observable metrics. BIS and CME use the term in this sense.
A liquidity level means something different in chart-based analysis. It is a reference area where participants may place stop orders, limit orders, breakout orders, or invalidation levels for trading scenarios. A regular candlestick chart does not reveal the full order book, hidden orders, or participants’ future decisions. That is why saying “there are definitely many orders beyond this level” is too categorical.
A more practical formulation is this: a prominent high, low, or range boundary creates a testable hypothesis of increased interest. As price approaches, observe how structure, volume, speed, and the market’s ability to hold beyond the boundary change. To understand the basic sequence of extremes, start with the guide to Swings in the trading.
What kind of liquidity levels are there?
Liquidity levels vary because the region is visible to many participants. The same maximum can be simultaneously the weekly range boundary, the EQH and the BSL reference. Then you need a single zone with multiple bases instead of three lines on top of each other.
| Type of reference | Where to mark | What he says | What he doesn't prove |
|---|---|---|---|
| BSL | above the prominent high | above the level can activate buy stop and other purchases | The exact number of orders and the mandatory turnover |
| SSL | under a prominent low | Below the level, sell stop and other sales can be activated. | the exact volume and the obligatory continuation down |
| EQH and EQL | at repeated maximum or minimum | The area is clearly visible to the participants | That the extremes have to match up to the tick. |
| Range boundary | at the upper and lower edges of the consolidation | The price has reacted several times to the region. | the direction of the next exit |
| Extreme of the period | the high and low of a day or a week | common guideline for participants of one period | Priority on any timeframe |
| Compression | for a chain of unupdated local points. | Several orientations are located nearby. | the moment and the force of the future movement |
What do BSL and SSL mean?
BSL stands for buy-side liquidity. In chart-based analysis, it is the area above a high. It may contain buy-stop orders from participants closing short positions, as well as orders from traders entering on a breakout. Investor.gov explains the general mechanics: a buy stop is placed above the current market price, and once the stop price is reached, the order becomes a market order.
SSL, or sell-side liquidity, is at a noticeable low. Sell stop is usually lower than the current market price. When the price reaches this value, the order also goes to the market. This explains why an execution flow can occur beyond the visible boundary, but does not allow its size to be calculated in advance.
The side labels often confuse beginners. BSL above a high does not mean “a level for buying,” and SSL below a low does not mean “a ready-made place to sell.” These labels only describe the side on which market buy or sell orders may be triggered. A trading decision requires a separate scenario.
Why are EQH and EQL attractive?
EQH, or equal highs, is two or more maxima in about one price range. EQL, or equal lows, is a similar chain of lows. A precise match to the minimum price step is not required: more importantly, the area is read as a single boundary on the chosen scale.
Why does this matter? Some participants may hide a stop behind an obvious high or low, others may wait for a breakout, and still others may use the same area as a range boundary. As price approaches the reference point, different orders may be triggered at roughly the same time. But some orders are canceled, some are hidden, and some have not yet been placed. Without order-book data, EQH and EQL therefore cannot be called a confirmed liquidity “pool.”
Price can react to the same extremes in different ways. A quick return shows that the market failed to hold beyond the level. Consolidation and continuation indicate acceptance of the new area. There is also an intermediate case: price crosses the level several times and forms a new range. EQH or EQL alone cannot tell you in advance which scenario will unfold.
How do range boundaries and period extremes work?
The lateral range has the upper and lower boundaries. The more time the market spends inside, the more decisions can be tied to the exit: stocks, limit bids, positioning, and new inputs. But the number of touches doesn't make the border an unbreakable wall. On the contrary, repeated tests can both confirm interest and gradually exhaust it.
The high and low of the previous day or week are convenient by being calculated equally for everyone watching the same trading period. You can mark them before the start of a new session and not follow every candle. On the intraday plane, daily extremes are usually more understandable than a random local peak, and on the longer horizon, weekly guidelines help keep the higher-timeframe context in mind.
Priority depends on scale. If the weekly maximum is near the upper boundary of the range and EQH, the basis is formed. If the local five-minute maximum is in the middle of the daytime range, its role is usually smaller. For more activity checks, you can use the volume indicator But the volume itself doesn't reveal the intentions of each party.
What is liquidity compression?
As the price moves upward, it can form a series of higher lows under one prominent high. In descending order, a series of lower maxima above one minimum. In the old Midas Academy, this chain was described as a compression between key structural points.
The practical meaning of marking is that several local orientations are close to each other. If the price goes up and down, sometimes the movement speeds up. The "fuel" metaphor here requires verification: the chart does not show how many orders remained at each point or whether they were withdrawn before the price approached.
Compression is easy to recognize in hindsight. To avoid fitting the pattern after the fact, define the criteria in advance: which extremes count as local, which key boundary must remain intact, and on which timeframe the sequence is constructed. If the rule changes after the move, the observation cannot be treated as independent confirmation.
How do you rank levels on a clean chart?
Start with the most objective points: the extremes of the past day and week, clear boundaries of the range, confirmed swings. Then mark EQH or EQL if they're read without increasing the chart and constantly moving the line. Add the compression to the last one, because it's the easiest thing to do to a known result.
Every zone has to have a signature. For example, "maximum week + EQH, four-hour chart". This recording explains priority better than the word "strong". If two grounds relate to different timeframes, they cannot be folded mechanically.
The next layer is confirmation. CME evaluates liquidity by spread, depth, execution cost, number and volume of orders. Retail traders don't always have the same complete data, so you have to be honest about what's being observed: just candles, candles and volume, or a real order book for a particular platform. With a sharp rise the volatility Even a familiar zone can slip through with unusual slippage.
Finally, formulate a conditional scenario instead of a forecast. Example: "If the price goes above the EQH but closes back in the range and breaks the local upward structure, the upper zone is considered verified". Next, write the opposite condition: "If the price stays higher and forms a new minimum above the border, the return scenario is canceled". A couple of such conditions are more useful than the categorical phrase "liquidity is gone, now it's just a twist".
What are the most common mistakes?
The first mistake is confusing a visible level with measured liquidity. With only a candlestick chart, the exact number, type, and current status of orders beyond the boundary are unknown. The wording must match the data: “order flow may increase here,” not “large money is waiting here.”
The second mistake is keeping dozens of lines on the chart. Excessive marking makes any outcome predictable. Leave a few levels that can be named and ranked. The rest of the local points will be stored in the story if needed to be deciphered.
The third mistake is to think of the brief probe as confirmation. The market order does not guarantee a specific execution price, and in a less liquid market the slippage may be higher. You have to decide in advance what is considered retention or return: shadow, bar close, a series of closes or new confirmed swing.
The fourth mistake is ignoring market context. News, the session open, changes in spread, and order-book depth can alter the reaction to a familiar reference point. The section of technical analysis It helps connect levels to other items being checked, but it doesn't override the risk rules.
Risks and Restrictions
Liquidity levels are not a standalone trading system. A chart identifies an area to observe, but it does not reveal hidden or future orders, guarantee a reversal or continuation, or determine position size. Even order-book data applies only to a specific venue and moment: orders can be changed or canceled.
A market order prioritizes execution, not price. With a wide spread, shallow depth, or a sharp move, the actual price may differ from the expected price. Account for slippage, fees, acceptable loss, and the invalidation condition before entering.
The material is for educational purposes and is not an individual investment recommendation. Check the rules of the strategy on historical data and in a safe manner, and make a decision based on your experience, horizon, and risk.
Sources
- BIS Quarterly Review: Towards liquid and resilient government debt markets in EMEs - determining market liquidity through speed, volume and price impact.
- CME Group: Understanding the CME Liquidity Tool Methodology - the composition of the order book and the spread metrics, the depth and the cost of implementation.
- CME Group: How Traders Measure Liquidity - the role of spread, volume, open interest, and order-book depth.
- Investor.gov: Types of Orders - market, limit, buy stop and sell stop orders.
Frequently asked questions
What types of liquidity levels are considered to be primary?
The main chart-based reference points are zones above and below prominent highs and lows, equal highs (EQH) and equal lows (EQL), accumulation or range boundaries, previous-day and previous-week extremes, and local chains of points formed during compression. This is not a reliability ranking. Each reference point must be evaluated on a chosen timeframe and checked against context, price reaction, and available volume or order-book data.
What is BSL and SSL in simple words?
BSL, or buy-side liquidity, is the term for potential liquidity above a prominent high, where stop orders from participants with short positions may be located. SSL, or sell-side liquidity, is marked below a prominent low, where stop orders from participants with long positions may be located. These labels identify a side of the level; they do not prove the number of orders or predict the reaction after a touch.
Why do equal maxima and minimum relate to liquidity?
Equal highs and lows are clearly visible to many participants and are often used as reference points for stop orders, breakout orders, and scenario invalidation. Order flow may therefore increase around them. A regular chart, however, does not show the exact number of hidden, canceled, or not-yet-submitted orders. Treat EQH and EQL as a hypothesis about an area of interest, not as a guaranteed magnet or mandatory reversal point.
Does the price always fluctuate after liquidity is withdrawn?
No. After moving beyond a prominent level, price may quickly return to the range, hold beyond the boundary, or continue the impulse. A touch or brief probe alone does not show which side retained control. Before a trade, define the confirmation, invalidation condition, and acceptable risk; afterward, evaluate bar closes, structure, volume, and price behavior relative to the former boundary.
What timeframe is best to mark liquidity levels?
Start with the timeframe used to build the trading plan, then mark higher-timeframe reference points separately. A weekly extreme is usually more important to a medium-term scenario than a local one-minute high, although a lower-timeframe level can add detail. Do not mix every scale into one chart markup: each line needs a source, a period, and a rule for when it ceases to be relevant.