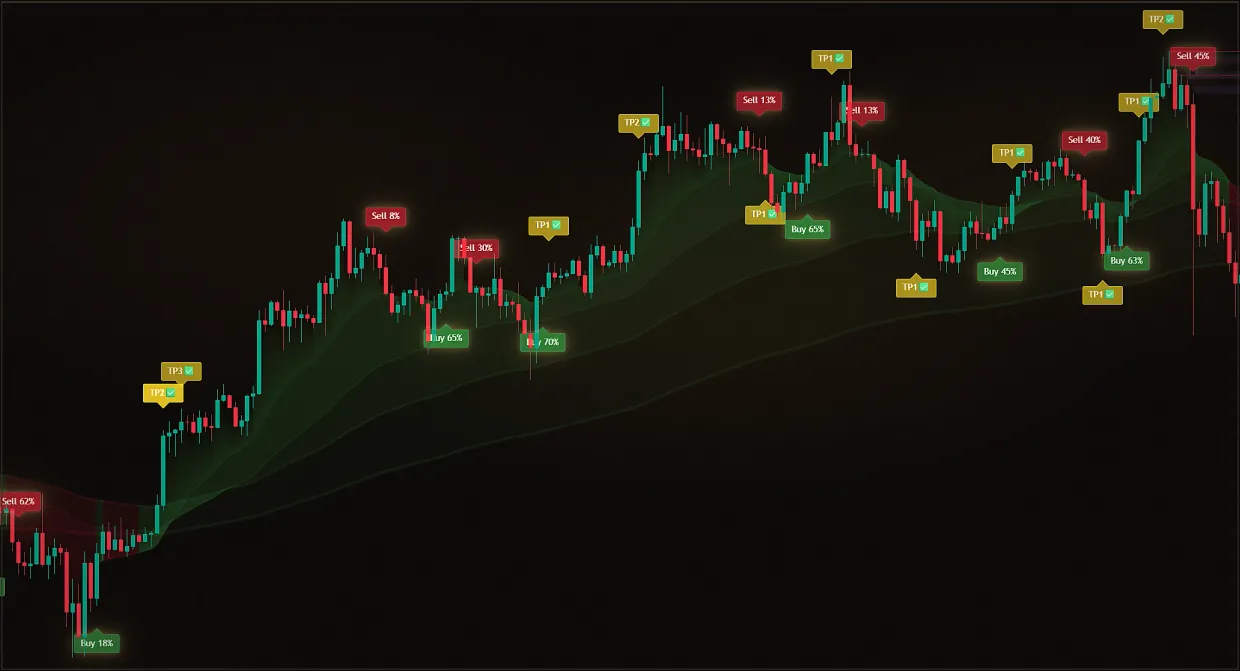
It is unclear where the market really traded and where the price simply flew through.
Targets at random
Taking profit where the chart merely looks attractive can leave you exposed when the reversal begins elsewhere.
Volume targets
Shelves and POCs show densities: where the price is held and where it skips quickly.
The horizontal volume profile shows what prices were actually traded at. The bright purple zones are the big shelves: the places where the big players opened a lot of positions; the dark purple zones are the voids where the price slipped quickly without resistance; the long arrows at the maximum volumes are POCs; the strong magnet levels for the big players.
This works because large participants cannot open or close a position all at once: there is not enough liquidity in the order book, so they build and close positions in parts around maximum-volume zones and may move price toward them. Volume shelves act as support and resistance: traders use them for rebounds or, in a strong trend, for breakouts followed by a POC retest.


Updated: · Midas Team
How the volume profile appears on the chart
The horizontal volume profile identifies the most important areas where large buyers and sellers were most active:
- Bright purple zones are large volumes of trading, horizontal shelves: places where large players opened many positions, areas of interest and struggle.
- Dark purple zones are voids: places where the price slipped quickly without resistance.
- Long Arrows at Maximum Volume (Point of Control): Strong levels that act as a magnet for large players.
- Long arrows in the voids indicate the boundaries of the trading zones - weak levels, from which you can also expect a rebound, but with less probability.
The general view of the volume profile on the graph: bright shelves, dark voids and POC arrows.
In this example, price formed a large horizontal volume shelf, approached it and then fell sharply after rebounding.
The example shows small shelves, from which you can also expect a rebound.
How to use volume shelves
Price often moves from one liquidity area to another. Large participants cannot open or close their trades all at once because the order book lacks enough liquidity, so they build and close positions in parts around areas of maximum horizontal volume and may move price toward them.
Identifying horizontal volume correctly helps you find important market areas, entry points and places to take profit:
- High horizontal volumes are key levels with maximum liquidity, which act as support and resistance.
- Price levels with low volumes are “emptiness” where the price can move faster without encountering resistance, as if slipping.
- When price approaches the POC, watch where it holds: above it supports a bullish scenario; below it supports a bearish scenario.
- Open positions from maximum-volume shelves, not while price is inside a shelf.
- Consider taking profit as price approaches the POC of a large volume shelf.
In this example, a horizontal volume shelf prevents price from rising. After a rebound from the shelf, price falls with brief pauses at smaller shelves.
For example, a large horizontal shelf of volumes keeps the price from falling - as a result, the price has rebounded from this level several times in a row.
In the example of a strong resistance level coincides with the POC of the horizontal shelf volumes - as a result, the price has rebounded from this level twice.
Bounce and breakout at a volume shelf
Trading from horizontal volume shelves is one of the most popular strategies in trading, which is ideal even for beginners due to clear entry points, stops and goals:
- Rebound trading: in a weak trend or sideways market, find the POC of a large or maximum-volume shelf, wait for price to react and trade in the direction of the rebound.
- Breakout trading: in a strong trend, wait for price to break through the volume shelf, then enter in the breakout direction on a POC retest (when price returns to the broken shelf and bounces).
A simple volume-profile workflow
Use the horizontal volume profile together with signals: when price bounces upward from a shelf, wait for a Buy signal before considering a long; when it bounces downward, wait for a Sell signal before considering a short.
- The larger the size of the horizontal shelf, the higher the chance of rebound.
- It works best in the trend direction and in sideways markets on higher timeframes.
- Experienced traders can open trades earlier without waiting for the signal.
Did this guide help?
Thank you. Your answer was recorded.
Thank you for your feedback. You can continue in the English-language Midas bot. Open the English bot
Test Midas on your own TradingView chart
- Seven days free: Midas Up and Midas Down on your TradingView chart
- No card or prepayment: access is linked to one public TradingView username
- Markets available on TradingView and timeframes from one minute to one month; choose settings for the asset and trading style
No card. No payment. A TradingView username is public; never send a password.
8,400+ Midas indicator installations · 300+ client reviews · active since 2024